Mir and graphics on Ubuntu Core (with video)
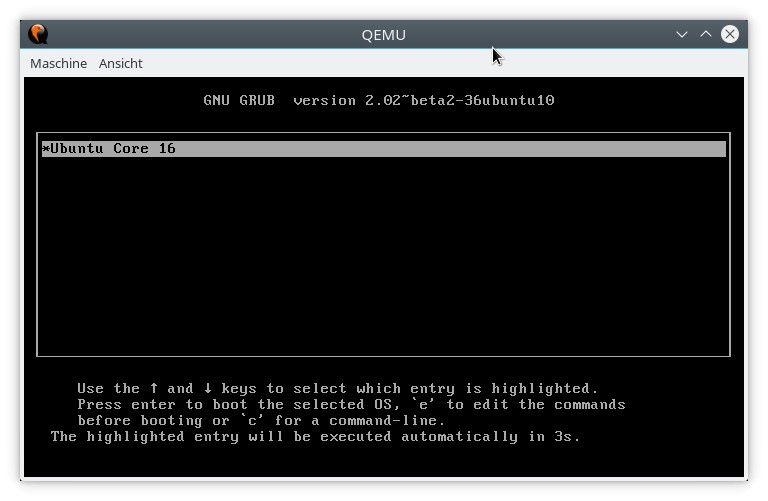
Part 1: Setting up an “All-Snap” Ubuntu Core image in a QEMU/KVM virtual machine
Part 2: Basic management of an Ubuntu Core installation
Part 3: Mir and graphics on Ubuntu Core
Part 4: Unity8 on Mir on Ubuntu Core
Part 5: Confinement
Since we now how to do basic management of an Ubuntu Core installation, let’s move to the interesting part: installing Mir, playing some games and trying to run Unity 8. I made a video for all those who just want to see what’s working and don’t have the time/don’t feel like repeating the instructions.
What is Mir?
Mir is a set of libraries for implementing a display server for Linux, developed by Canonical since 2012 and aimed at replacing the X Window System. It stands in competition with Wayland. Both are designed to be faster, more secure (X11 lets any application snoop on any other application and grab the whole screen), and generally better than the aging X Window System (which was mainly developed for remote connections to mainframes).
Wayland is technically just a protocol definition and not an implementation. The design expects users to consolidate everything from communication with the hardware drivers and applications up to window management into a single process, the “compositor”. Applications talk to the compositor, if the compositor process dies all applications do (that’s why you can’t restart GNOME Shell when it’s running in Wayland mode). There is a reference implementation of a compositor, Weston, and many desktop environments (KDE, GNOME etc.) and some Toolkits (Qt) have their own implementations. GNOME on Wayland is the default in Fedora 25 and uses XWayland to transparently run legacy applications.
Mir on the other hand is a set of libraries hiding the protocol (which is based on Google Protocol Buffers). The general design looks more like X11, there is a server process and a separate “shell” which does window management. Both applications and shell talk to the server, but the shell is privileged. Other projects haven’t adopted Mir, so the “usual” combination you hear about is the “full-blown” Mir server implementation shipped with Classic Ubuntu desktop systems, and the Unity 8 shell. There are several implementations of Mir display servers and shells for different applications though (see here for example). Mir was to be shipped and enabled on desktops by default with Ubuntu 13.10, but as we all know that didn’t happen. Mir drives all Ubuntu phones and the Aquaris M10 tablet though.
Installing the Mircade Snap
A minimal example for Mir on Ubuntu Core is the Mircade snap by Alan Griffiths from Canonical. It scans for installed games, presents a full-screen launcher and lets you start and play games. Games can either talk to the Mir server in the background directly or use XMir.
To be able to use graphics in QEMU, you have to add the -vga qxl flag. This is the full command line I’m using:
$ qemu-system-x86_64 -enable-kvm -smp 2 -m 1500 -netdev user,id=mynet0,hostfwd=tcp::8022-:22,hostfwd=tcp::8090-:80 -device virtio-net-pci,netdev=mynet0 -vga qxl -drive file=ubuntu-core-16-amd64.img,format=raw
Restart the virtual machine to change the configuration, if necessary. You will notice that the boot messages are now displayed at a higher resolution. Then install mir-libs and mir-kiosk:
$ snap install --edge mir-libs
$ snap install --devmode --edge mir-kiosk
If the QEMU window suddenly turns red and then fades to black after the installation of mir-kiosk, the display server is now working in the background and you can proceed to install Mircase:
$ snap install --devmode --edge mircade
Nothing happens, and I’ll have to explain a few technical things about interfaces before we continue.
Interfaces
Snaps are supposed to be fully confined so they can’t steal your data or interfere with other apps or the system. Sometimes an application has to be able to talk to hardware, system services and even to other applications system services though, or even access files owned by another Snap (the time of Snaps shipping all their dependencies were over when a desktop calculator was 450 megabytes). The solution to this are interfaces. Snaps can offer a “slot”, for example a socket, a D-Bus interface or a file, and a second Snap can expose a “plug”. Plugs have to be connected to slots by the runtime environment. Some interfaces are offered by Ubuntu Core itself, some are auto-connected, some can be requested for auto-connection when submitting a Snap to the store and snapd will then do what the store says. The list of available “core interfaces” and the rules for auto-connection change all the time, you can read up on it here.
Let’s see what the current situation looks like in the demonstration VM.
$ snap interfaces
Slot                    Plug
:bluetooth-control      -
:camera                 -
:dcdbas-control         -
:docker-support         -
:firewall-control       -
:fuse-support           -
:hardware-observe       -
:home                   -
:kernel-module-control  -
:locale-control         -
:log-observe            -
:lxd-support            -
:mount-observe          -
:network                mircade
:network-bind           -
:network-control        -
:network-observe        -
:network-setup-observe  -
:opengl                 mir-kiosk,mircade
:ppp                    -
:process-control        -
:removable-media        -
:shutdown               -
:snapd-control          -
:system-observe         -
:system-trace           -
:time-control           -
:timeserver-control     -
:timezone-control       -
:tpm                    -
mir-kiosk:mir           mircade
mir-libs:mir-libs       mir-kiosk
-                       mircade:mir-libs
All interface names starting with a colon are offered by core Snap itself. If the name of a Snap is listed in the “Plug” column, a connection between this Snap’s plug and the slot left to it exists. For example the mircade Snap is allowed to access the network, and both the mir-kiosk and mircade Snaps are allowed to use OpenGL. A connection to the :network slot results in a change in the AppArmor rules of the consuming Snap, allowing it to access the network.
As we can see, :network and :opengl interfaces were auto-connected, but there’s an entry in the last line, signalling that the mircade:mir-libs plug has no connection. From the name we can inter that the mircade Snap wants to be connected to the mir-libs:mir-libs plug, so I’ll do that by hand:
$ snap connect mircade:mir-libs mir-libs:mir-libs

sturmflut@localhost:~$ snap interfaces
(..)
mir-kiosk:mir           mircade
mir-libs:mir-libs       mir-kiosk,mircade
But still nothing happens. Turns out you have to reboot once again.
$ sudo reboot
Mircade
Now I see this:
Scrolling through the games is possible either with the <Left> and <Right> keyboard cursor keys or by clicking on the upper or lower screen half with the mouse. The <Enter> key or a click on the text start the selected game. It might take a while for a game to start after selected. There’s quite a number of games:
- Chess
- Mahjongg
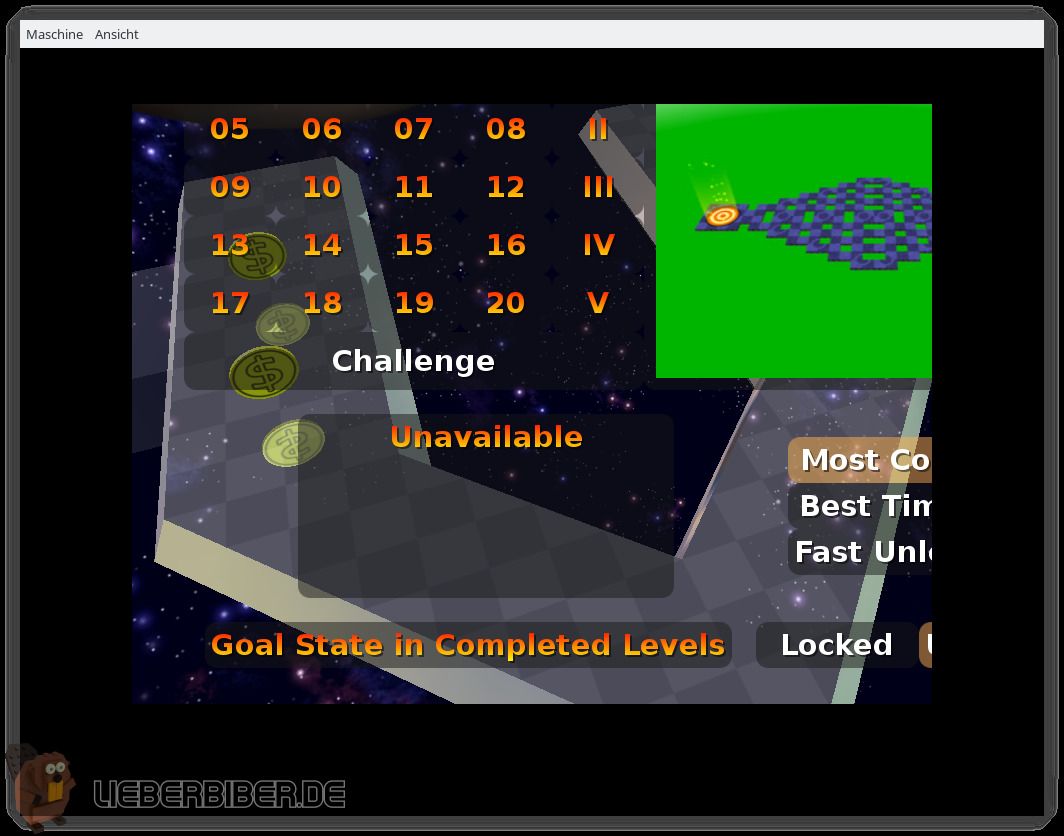
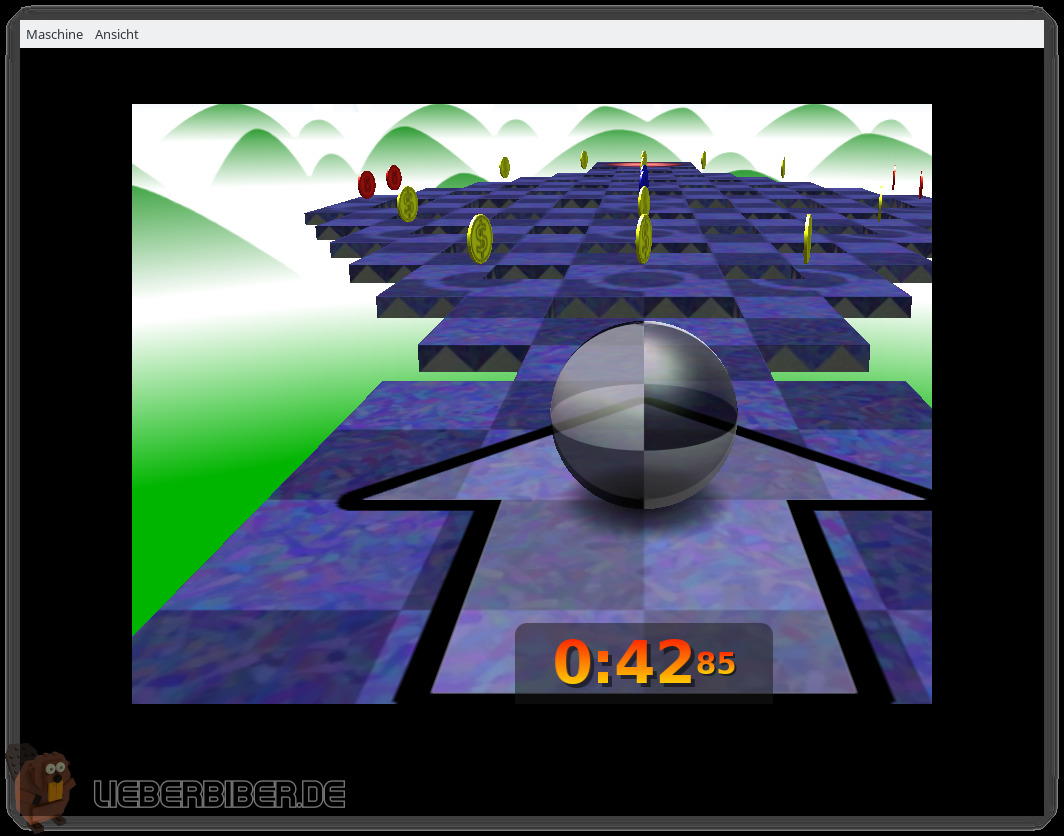
- Neverball
- Neverputt
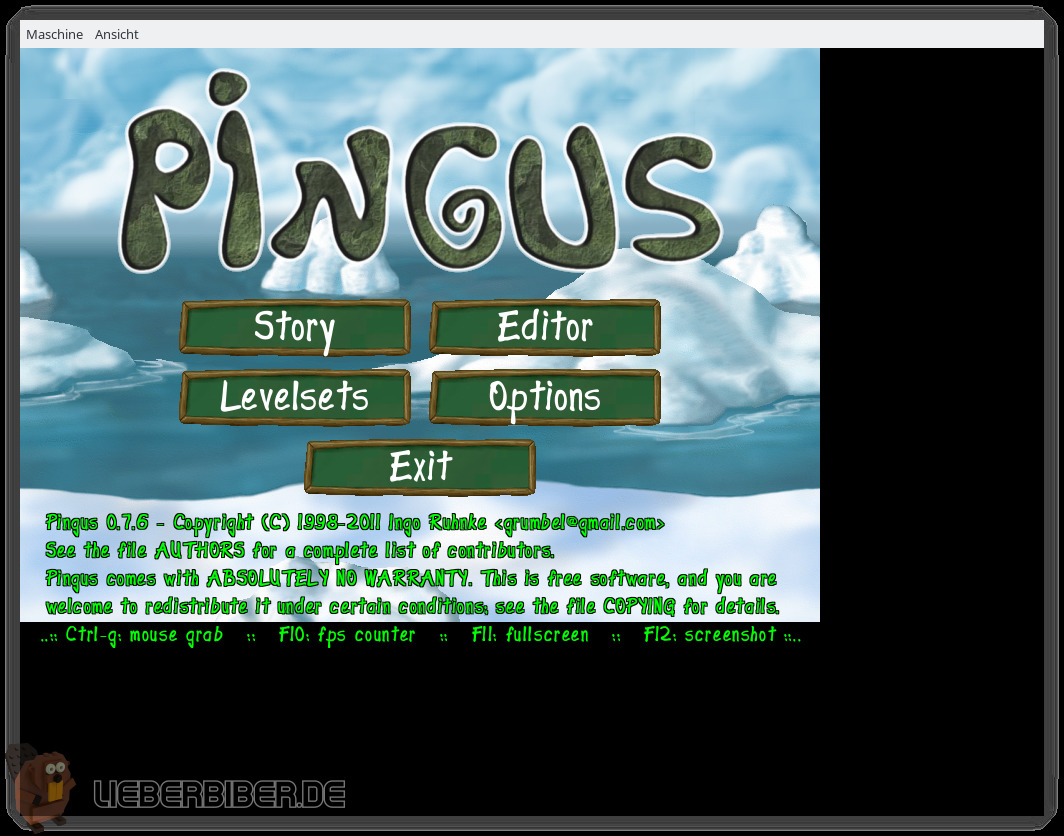
- Pingus
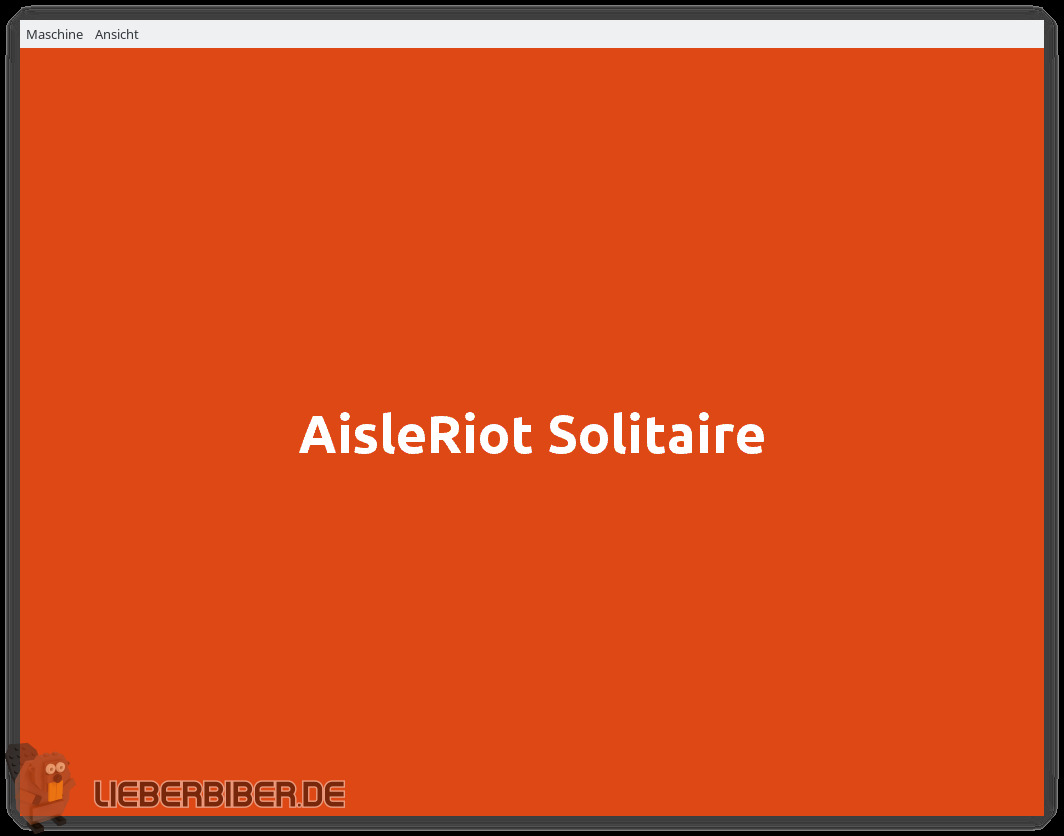
- AisleRiot Solitaire
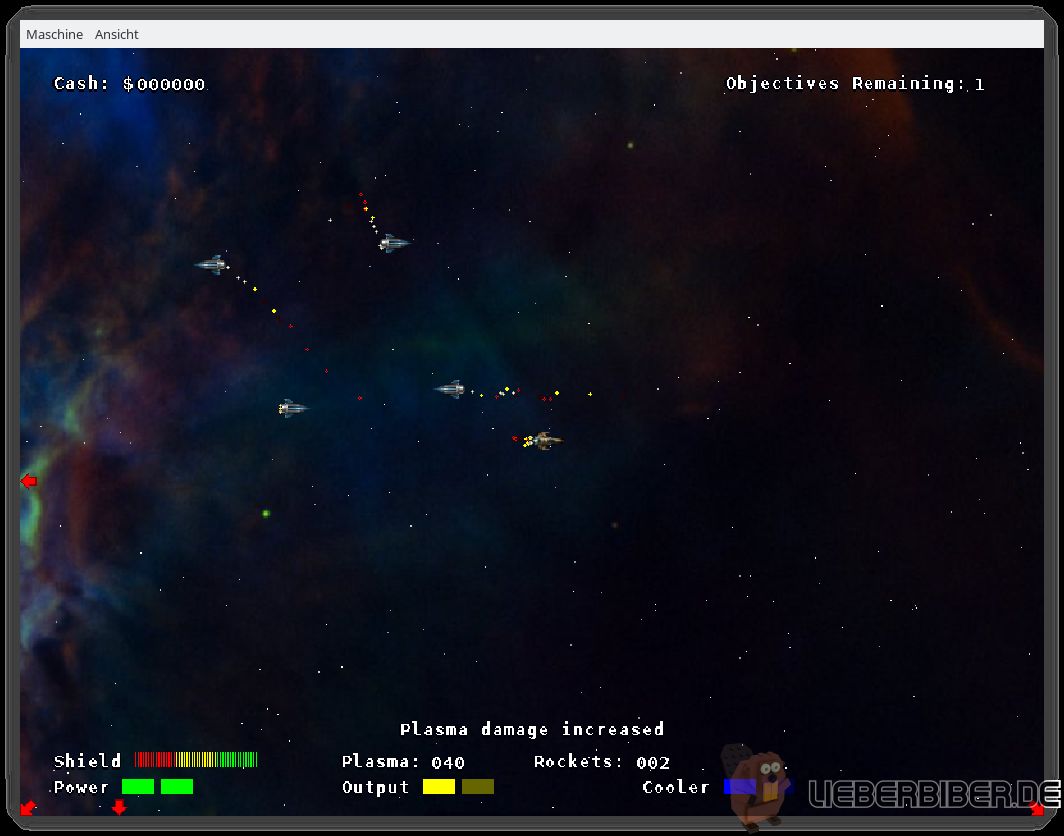
- Project: Starfighter
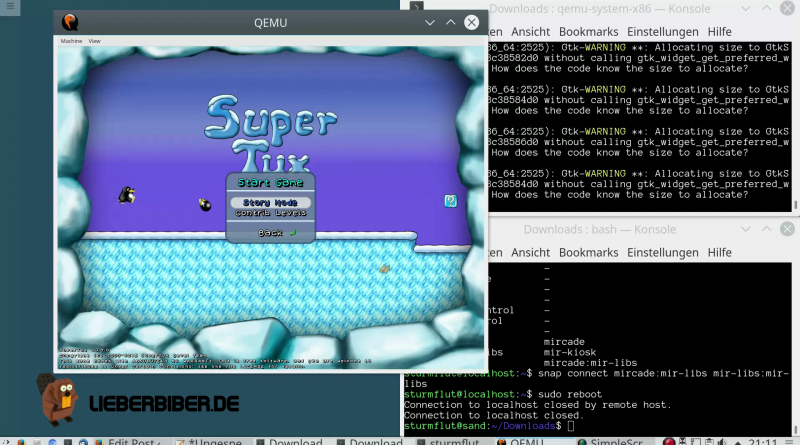
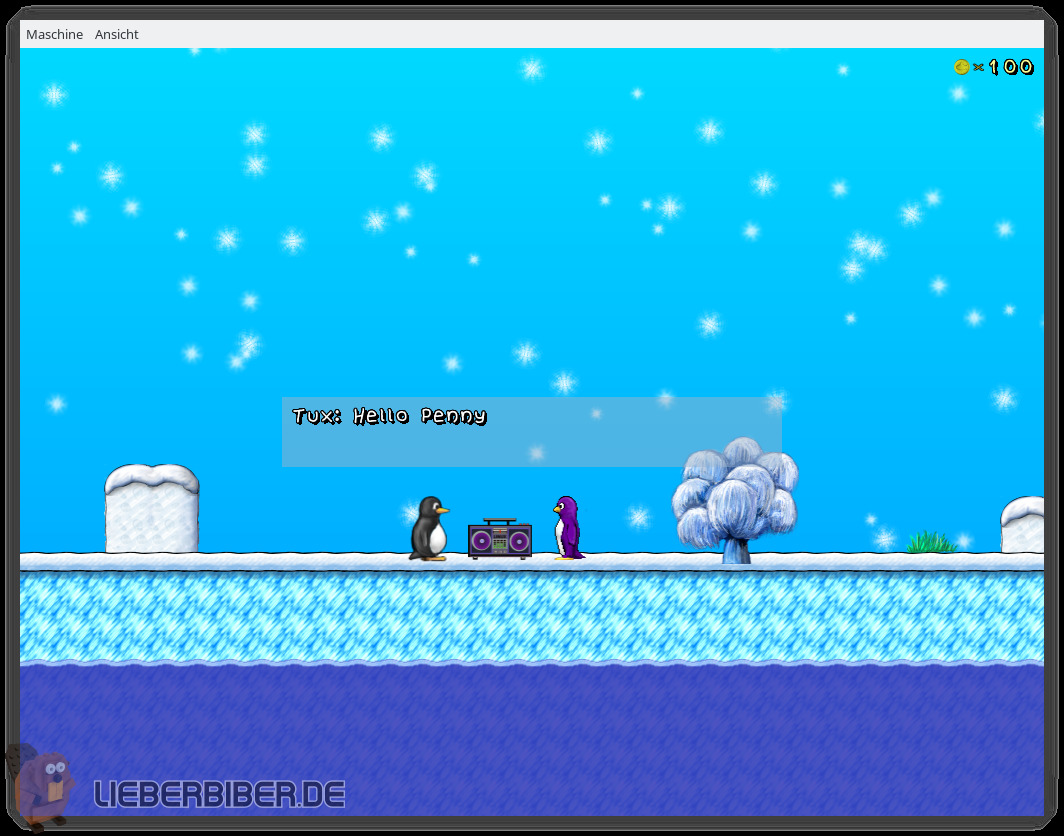
- SuperTux 2
Neverputt and Neverball had already been ported to Ubuntu Touch, so I imagine they’re running against Mir. There is no sound because QEMU doesn’t ship PulseAudio by default and I didn’t configure any sound in QEMU.
Project: Starfighter works very well, the game is full-screen and performance is quite good even in QEMU.
SuperTux is also full-screen. Graphics performance varies at various stages in the game and is not really good. Sometimes input is lost.
Neverball performance is okay, but as you can see in the screenshot graphics output is not quite full-screen while the engine seems to render at the correct resolution, so parts of the controls are outside of the visible area. This also affects gameplay, and there are a lot of artifacts in the form of black squares briefly appearing all over the screen.
Pingus is another example for a game not actually running full-screen.
The video
Here’s a YouTube video of me trying everything out:
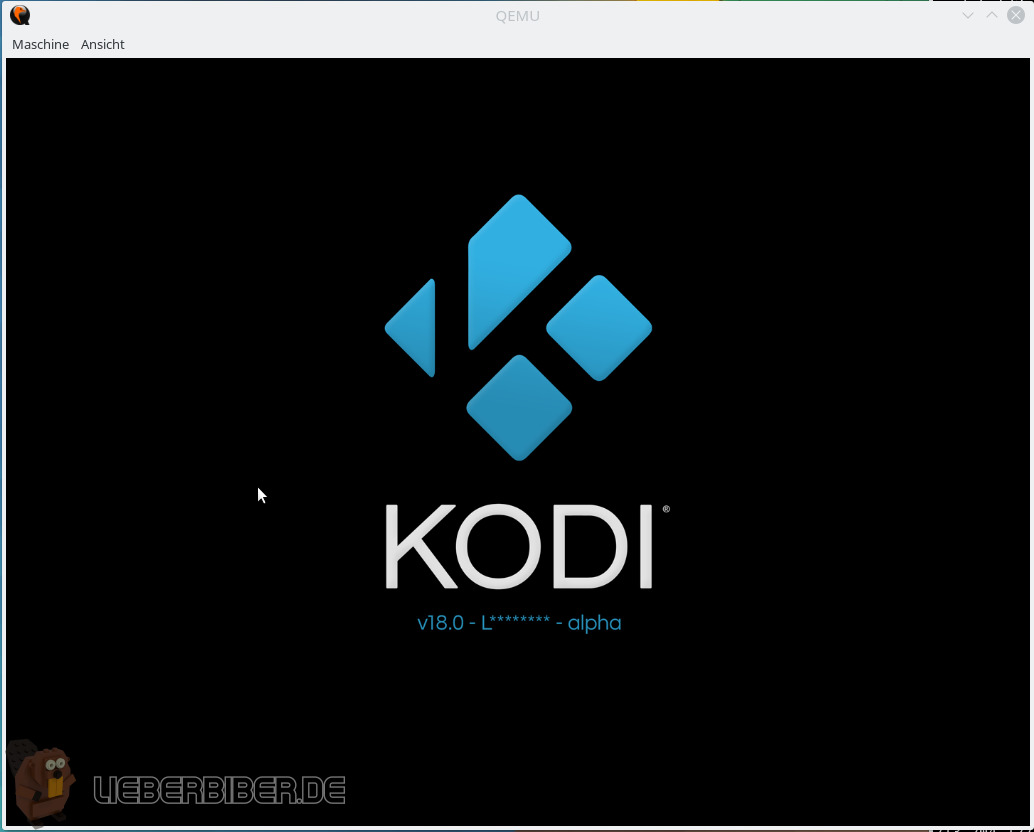
Other Snaps using Mir
There is a Kodi Snap by Oliver Grawert, but it’s not being maintained right now. This is how far I could get it before it crashed:
I could only get Unity 8 half-working in time for this post, so I’ve postponed it until the next post.