Setting up an “All-Snap” Ubuntu Core image in a QEMU/KVM virtual machine
Part 1: Setting up an “All-Snap” Ubuntu Core image in a QEMU/KVM virtual machine
Part 2: Basic management of an Ubuntu Core installation
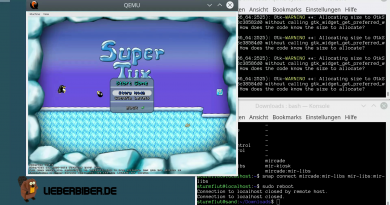
Part 3: Mir and graphics on Ubuntu Core
Part 4: Unity8 on Mir on Ubuntu Core
Part 5: Confinement
You’ve probably heard a lot about Snappy and Ubuntu Core in the past couple of months. Since the whole ecosystem is slightly becoming “tryable”, let’s test an “all-snap” Ubuntu Core setup (does not support DEB packages at all!) in a virtual machine.
Preparations
Install QEMU:
# On Ubuntu
apt-get install qemu-kvm

# On Arch
pacman -S qemu
Download the latest Ubuntu Core image for the amd64 architecture:
wget http://releases.ubuntu.com/ubuntu-core/16/ubuntu-core-16-amd64.img.xz
Decompress the image:
unxz ubuntu-core-16-amd64.img.xz
Start the virtual machine
We want hardware acceleration, networking and a few port forwardings, so we can access SSH and HTTP servers inside the virtual machine. The full command line is:
# On Ubuntu
kvm -smp 2 -m 1500 -netdev user,id=mynet0,hostfwd=tcp::8022-:22,hostfwd=tcp::8090-:80 -device virtio-net-pci,netdev=mynet0 -drive file=ubuntu-core-16-amd64.img,format=raw

# On most other systems
qemu-system-x86_64 -enable-kvm -smp 2 -m 1500 -netdev user,id=mynet0,hostfwd=tcp::8022-:22,hostfwd=tcp::8090-:80 -device virtio-net-pci,netdev=mynet0 -drive file=ubuntu-core-16-amd64.img,format=raw
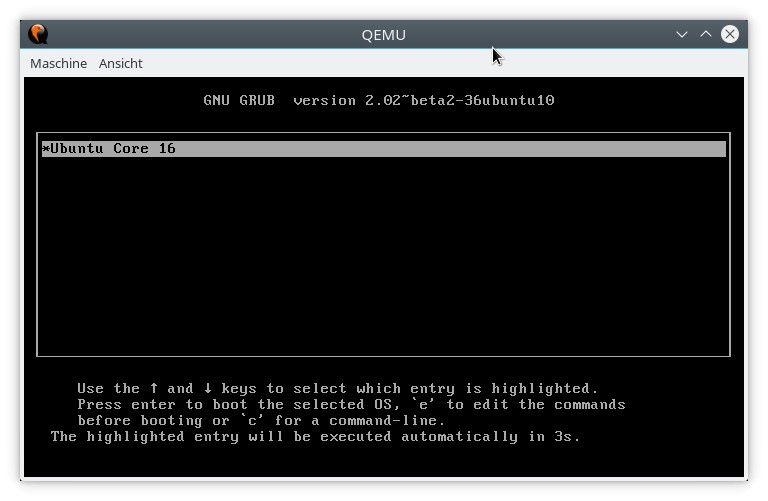
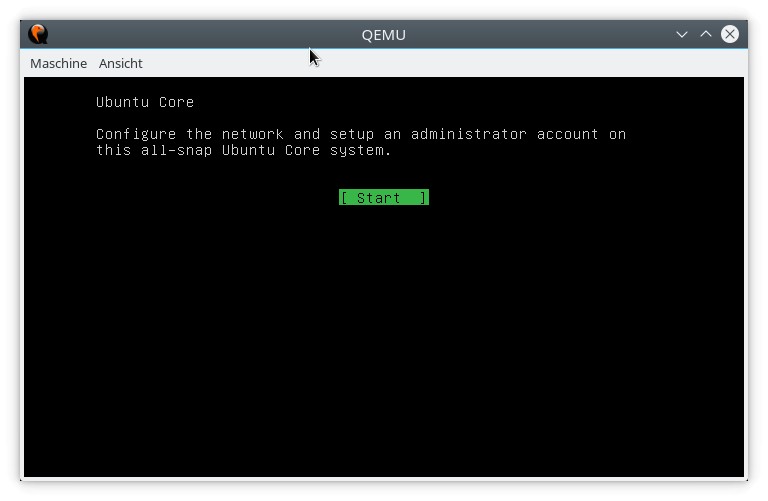
The virtual machine should now boot:

After a short bootup sequence, the setup assistant starts up:
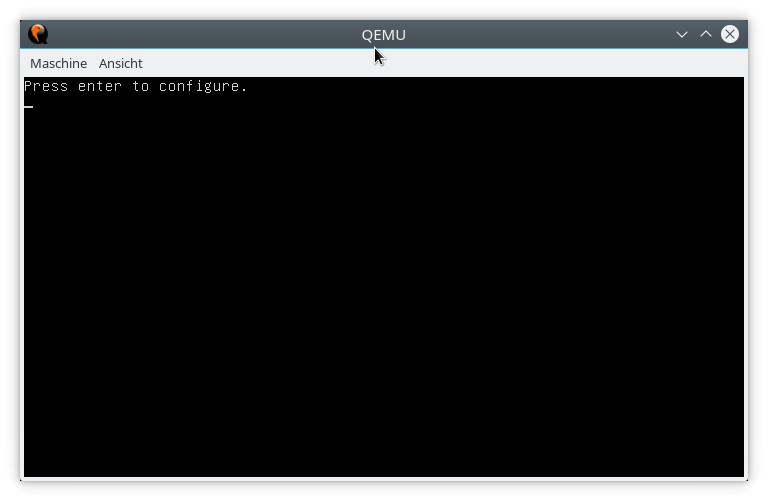
Setup
Ubuntu Core uses a completely different setup method than the traditional Ubuntu distribution. There’s no installer, no GUI, no fancy progress bars and pictures – just a text interface.
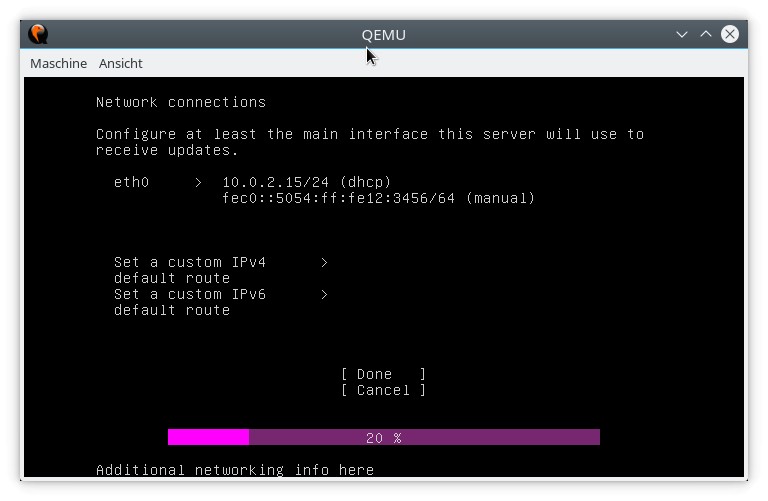
There are only two steps: networking and setting up an administrator account. The networking part offers minimal configuration options and defaults to DHCP for IPv4, which is the right choice for our QEMU settings.
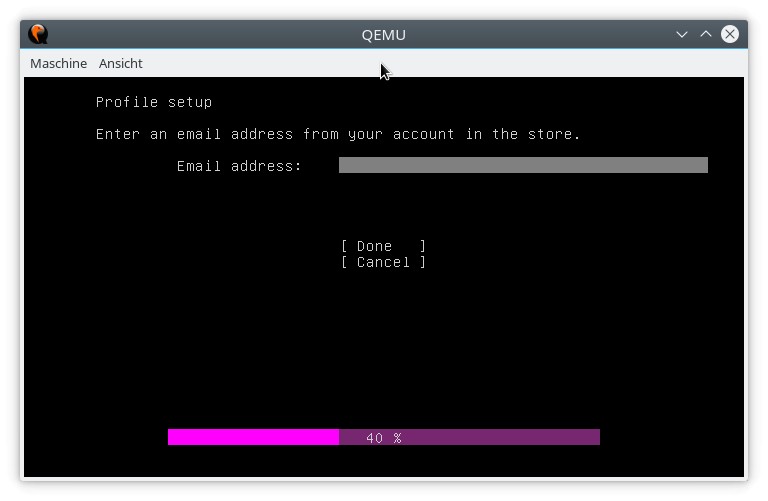
The second step is setting up the administrator account. Now this might be confusing at first, and I don’t know if I like it: you must have an Ubuntu One account with an associated SSH key, there’s no way to manually create a username or set a password. You can probably create additional users and set passwords later, but only after an initial setup using Ubuntu One.
(Note that the keyboard layout might be set to US, the key combination to produce the ‘@’ sign on a german keyboard is SHIFT+2.)
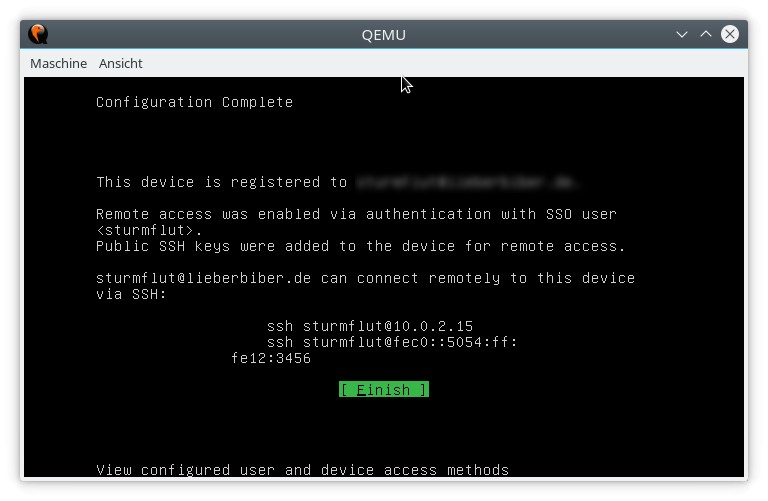
It takes a few seconds for the system to finish setup, then you can log into your new Ubuntu Core VM via SSH from the host:
ssh -p 8022 ACCOUNT@localhost